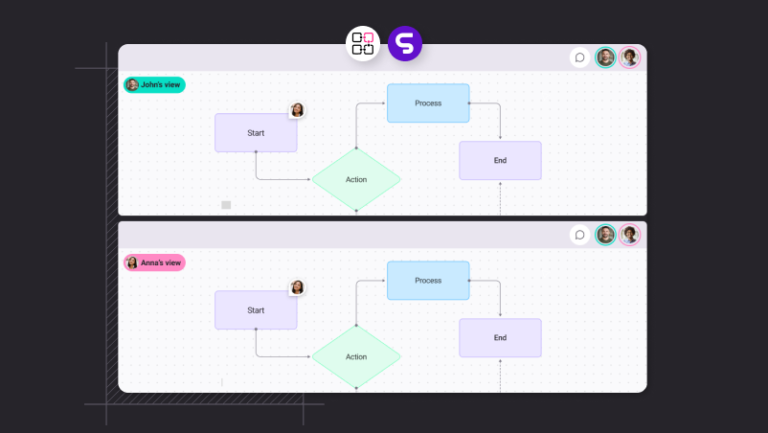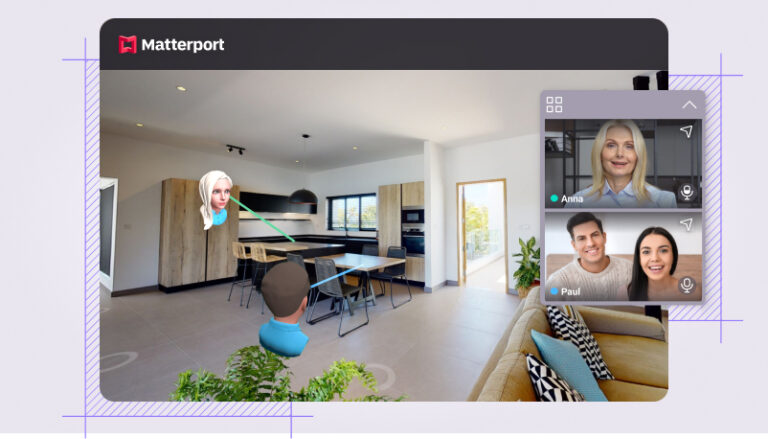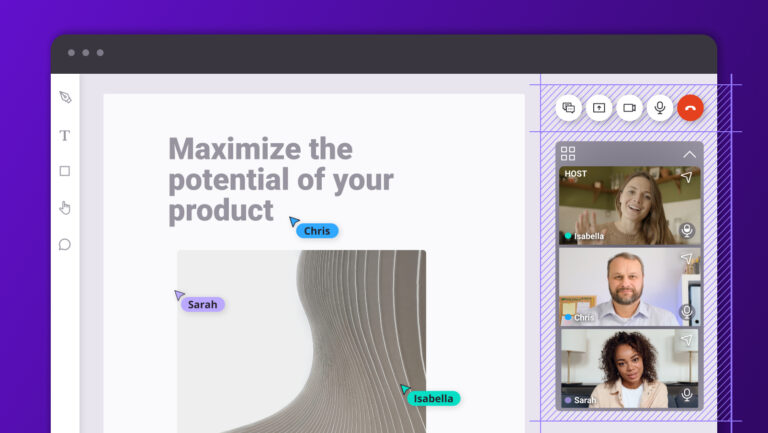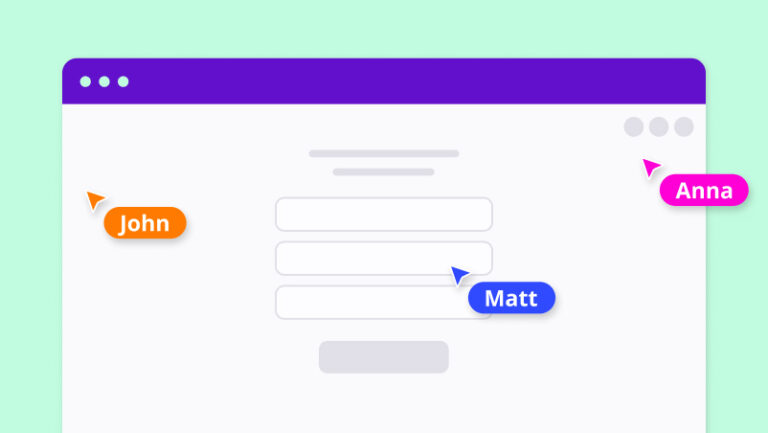
With the rise of remote work, the need for effective online collaboration tools is more crucial than ever. When speaking about online collaboration, one thing that can make a significant difference is the use of presence indicators, like live cursors that can be found when using tools like Miro or Figma.
By the end of this guide, you should be able to implement real-time tracking cursor movement from the users, creating a more interactive and collaborative environment within your web applications, thereby augmenting the overall user experience, in just a few minutes.
Install SuperViz SDK
Before you can start using SuperViz, you’ll need to install the @superviz/sdk package. You can do this using npm or yarn. If you’re using npm, run the following command in your terminal: npm install @superviz/sdk. If you’re using yarn, the command will be yarn add @superviz/sdk.
Once the package has been installed, you can import it into your project:
import SuperViz from "@superviz/sdk"
Creating a room for collaboration
To add the mouse cursor presence component to your web page, you first need to initialize a room with SuperViz. A room is a virtual space where users can join and collaborate. When creating a room, you can specify a unique ID for it.
To create a room, you need to use the SuperVizRoom that’s available from the SDK package, which takes the Developer Key and an object as a parameter. The object should have the following properties:
id: The ID of the room, which should be a unique string shared between the participants of that room.participant: An object that contains information about the current user, such asname,id.group: An object that contains information about the group that the user belongs to, such asnameandid.
Here’s an example of how to create a room with SuperViz:
					// Import the SuperViz SDK
import SuperVizRoom from '@superviz/sdk';

// Create a room object
const room = await SuperVizRoom(DEVELOPER_KEY, {
  roomId: "<ROOM-ID>",
  group: {
    id: "<GROUP-ID>",
    name: "<GROUP-NAME>",
  },
  participant: {
    id: "<USER-ID>",
    name: "<USER-NAME>"
  },
});
Please note that when you create a room you will need to pass your DEVELOPER_KEY as a parameter. You can retrieve a free DEVELOPER_KEY at superviz.com
Once you have created a room, you can use the room object to add components.
Add mouse pointers component
You will need to have a space where the cursors will be tracked, for that you will need an HTML canvas element with a defined ID.
<canvas id="my-id" width="540" height="540"></canvas>
Then to add a Mouse Pointers component to the #my-id element, use the following code, on JavaScript:
					import { MousePointers } from "@superviz/sdk/lib/components"

const mousePointers = new MousePointers("my-id");
room.addComponent(mousePointers);
Here is the full code of adding the presence indicator of live cursors component to your page:
					import SuperVizRoom from '@superviz/sdk';
import { MousePointers } from "@superviz/sdk/lib/components"

const room = await SuperVizRoom(DEVELOPER_KEY, {
  roomId: "<ROOM-ID>",
  group: {
    id: "<GROUP-ID>",
    name: "<GROUP-NAME>",
  },
  participant: {
    id: "<USER-ID>",
    name: "<USER-NAME>"
  },
});

const mousePointers = new MousePointers("my-id");
room.addComponent(mousePointers);
You can find this code ready to use on the samples repository, which provides practical examples of how to use our SDK. Feel free to check it out for further insights and code snippets.
SuperViz makes it easy to add a Mouse Pointers component to your website. This feature can improve the way your users interact and work together on your web app.
You can always reach out to us on our Discord server if you need any help or have any feedback.